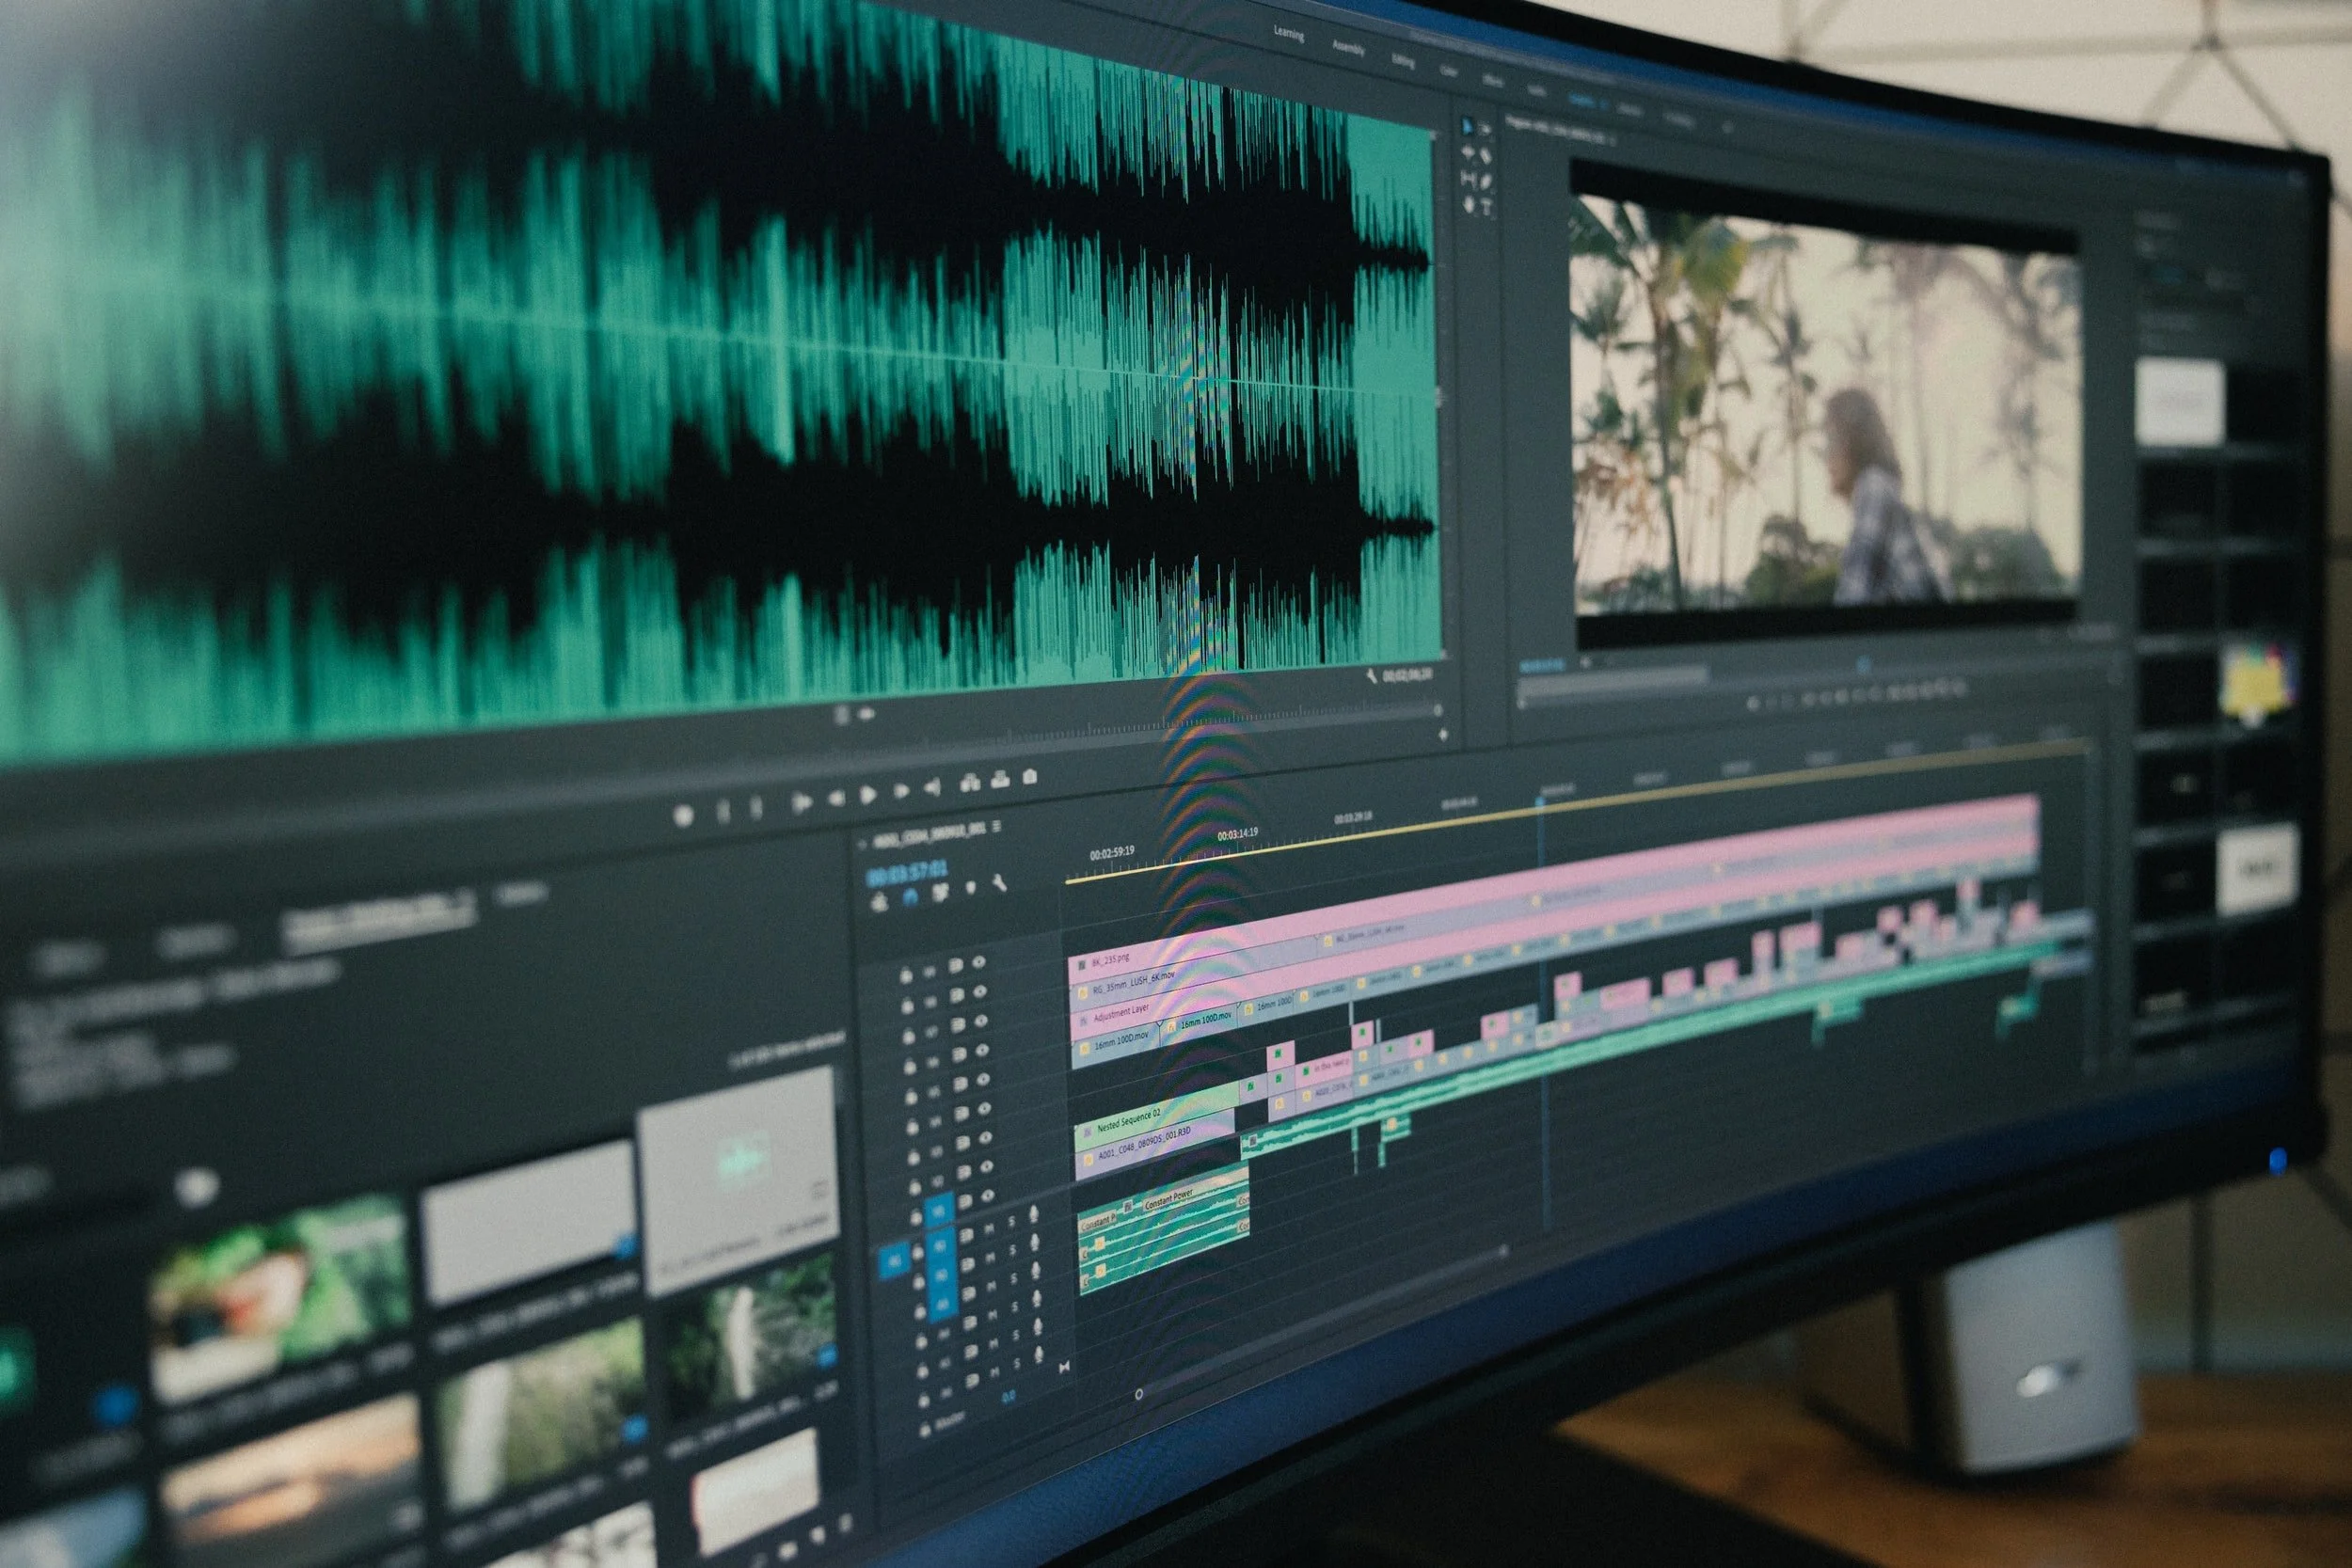
Tips: Editing
Set up your editing project
Create a new folder for editing your project, in a spot you’ll remember and won’t be moved from (ideally on an external hard drive)
Within that folder, create other folders (as applicable) for:
Footage
Sound
Music
Cuts
Project FIles
Save all your filmed footage from your camera’s memory card into your “Footage” folder (if there were multiple shoot days, create folders for each day)
Create a new project file in your editing app, and save this in the “Project Files” folder
Create a new bin/folder in your project titled “Footage,” and import all your footage from your computer’s “Footage” folder into your project
Name each clip according to the clapperboard info/clip content
ex. 1A-1 (for Scene 1, Shot A, Take 1)
Sync sound: if you recorded sound separately, name all sound files accordingly, and mark an “in point” at the clapperboard clap in both the video and audio clips, then use your editing app’s sync feature to create new clips, saving them into a “Synced” bin/folder
Create a bin/folder titled “Sequences” and create a new sequence that matches your footage’s resolution (you can also right click a clip, and select “Create new sequence from clip”
Review all your clips in scene and shot order, and make notes as you wish to remember usable takes
Set “in” and “out points” on usable takes, and add them to timeline
Begin assembling your film
When adding music or other media files to your project, save them in the proper folder on your computer first, before adding them to your editing app
Edit 4K or high-res footage smoothly (on Premiere and Media Encoder)
The Proxy icon that toggles between low-res proxy files with original high-res clips. Keep this on when editing to edit smoothly, and off when exporting to export high-res videos.
To edit high resolution footage smoothly, you can create “proxies” of each clip. Proxies are low-resolution copies of your clips which won’t make your computer lag as much. After editing, the proxies can be replaced with the original clips for the export.
Right click one of your clips, and select “Properties.” Make a note of its resolution (ex. 3840 x 2160)
Open the Media Encoder app
At the top menu, click “Preset” then “Create Encoding Preset”
Include your clips’ resolution in the Preset Name (ex. Encoding - 3840 x 2160)
For Format, select “QuickTime”
Make sure “Export Video” and “Export Audio” are selected
Under Basic Video Settings, click “Match Source”, and then untick the Width and Height categories, and make sure the button next to them is crossed out (don’t maintain frame aspect ratio)
For “Width,” enter the width of your original clips’ resolution, divided by 4 (ex. 3840/4). The app will make the calculation for you.
For “Height,” enter the height of your original clips’ resolution, divided by 4 (ex. 2160/4).
Press “OK”
At the top menu, click “Preset” then “Create Ingest Preset”
Include your clips’ resolution in the Preset Name (ex. Ingest - 3840 x 2160)
Tick “Transcode files to Destination,” and create a new folder somewhere on your computer named “Adobe Transcode,” then select this folder
For Format, select “QuickTime”
For Preset, select the encoding preset you created (ex. Encoding - 3840 x 2160)
Press OK
Right click on the created ingest preset on the left side of the screen, and reveal its file location in your computer
Return to Adobe Premiere
Select (highlight) all clips shot with the same camera or that share the same resolution
Right click and select “Proxy” then “Create Proxies”
Click “Add Ingest Preset” and select the ingest preset file from your computer
For Destination, tick “Next to Original Media, in Proxy folder”
Click OK
Your proxy files will be created in Media Encoder
In your Program window, next to the buttons, right click and add the proxy icon
When this button is clicked (blue), it means you are editing with the low-res files, which will be less laggy
Before you export your file, untick the proxy icon, so you export with the original footage

